Tuesday, April 8, 2014

Molly


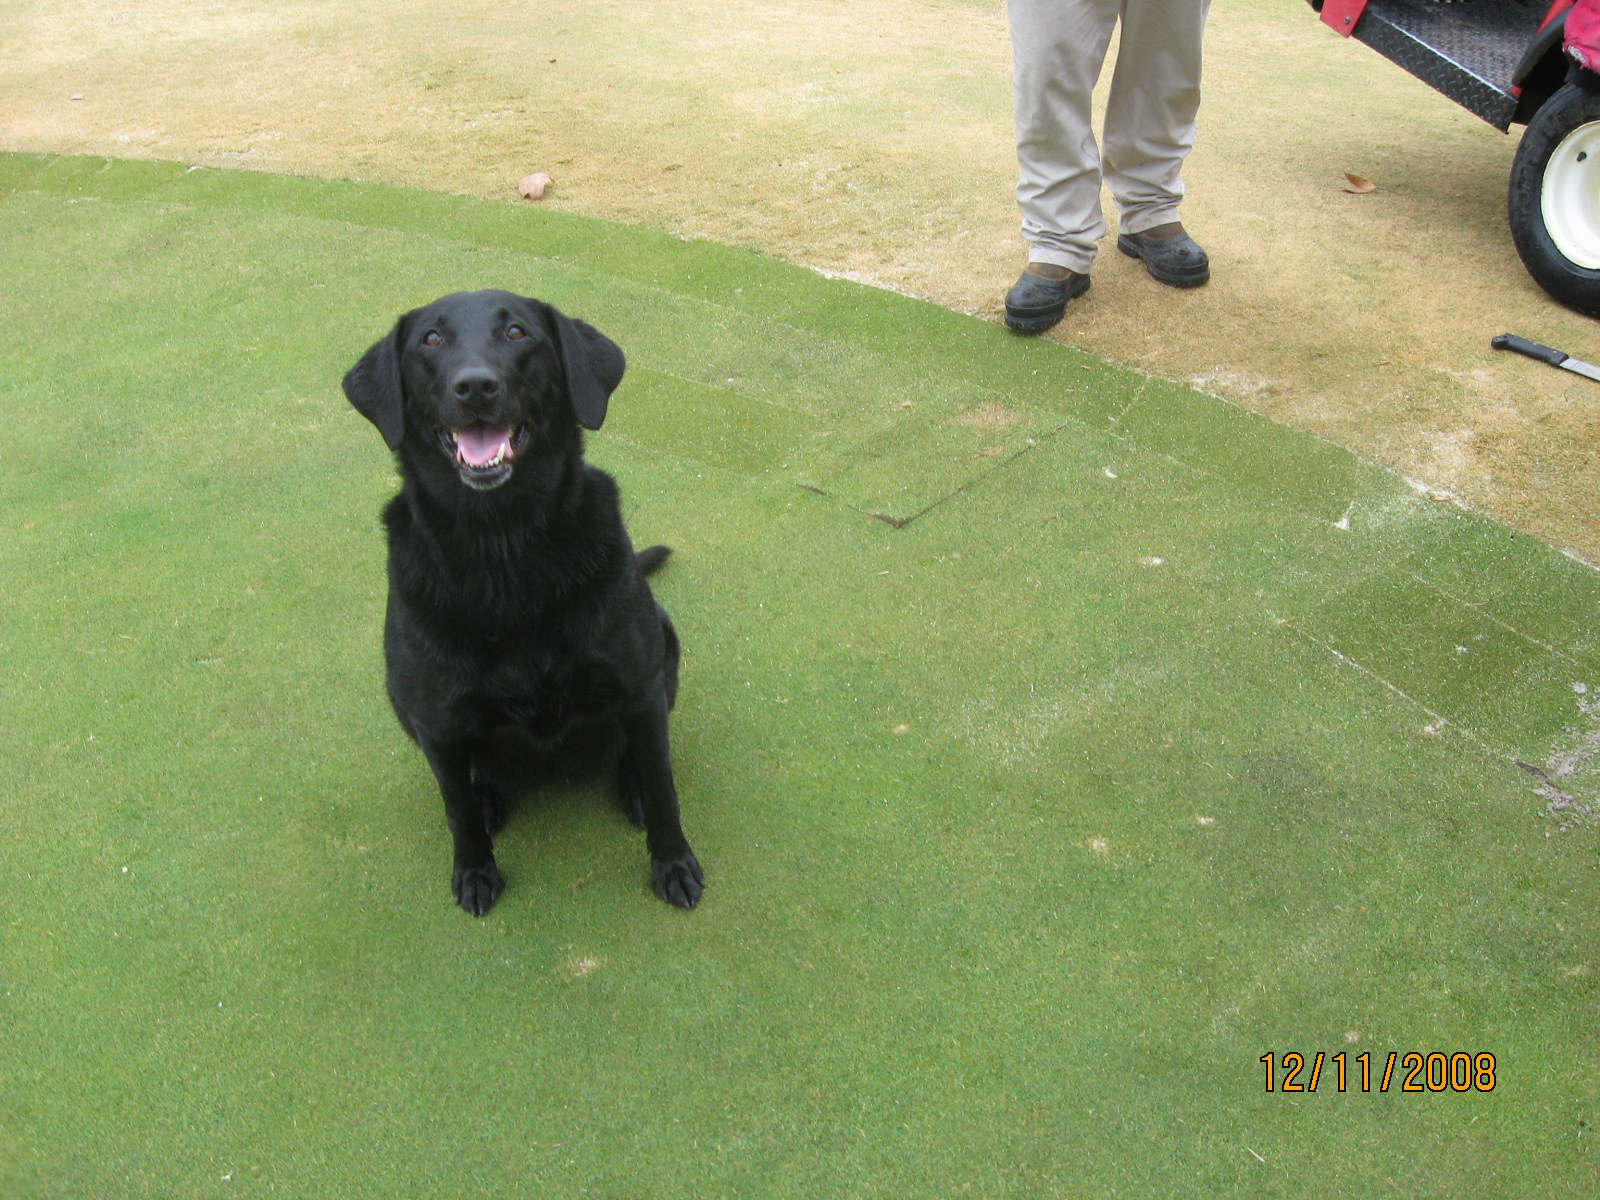
 Molly, my black lab, came to the golf course with me almost everyday for the last 10 years.  She was healthy and running the golf course this past summer and chasing geese and squirrels as we drove the course each morning.  She had developed a schedule of going out in the morning and then sleeping in the office from mid-morning until it was time to go home for the day.  The last several weeks of her life saw a pretty drastic slow down and we had to have her put to sleep last month.  I got her as a 5-week old puppy and she lived until she was over 12 and i cannot imagine many dogs with a life as good as she had it.  She is missed for sure and I thought if you would bear with me I would share just a few pictures below:


Getting ready for the inaugural VCC Campout on the Par 3 course.


Her photo that was used for the calendar.  Sitting outside the Golf Shop waiting for me in the snow.

Squirrel!!!!!!

December 2012

This isn't molly but it's the cover of the calander she was in
Installing the greens encroachment barrier system


Newer fescue area near #4 tee

Checking out greens mowers in the morning


Checking greens at the end of a long summer

Repairing the leaking pond on #6

Helping with irrigation repairs

Renovation at the irrigation lake


Resodding the driving range tee


Installing the cartpath on #3 on the Par 3 course


Drainage on #3 fairway


Par renovation after a major rain


2012 Golf Maintenance


2011 Golf Maintenance

2010 Golf Maintenance


2009 Golf Maintenance

2008 Golf Maintenance

Spring Aerification

Our spring aerification went well again this year.  We aerified on March 11 & 12 and everything has healed in nicely.  Now we are getting the greens back to the perfect conditions everyone enjoys and the weather has finally started to cooperate with us.  Here are few photos from aerification day.


Spring Aerification (1)
Deep drill crew- this machine drills down to about 12" creating very deep channels for air, water, and nutrients to move freely down through the green.


In the video you can actually see the front tire lift off of the ground a little bit.  This is where it is hitting a compacted layer.  


Spring Aerification (12)
The black "box" dragging behind the aerifier collects all of the cores that have been pulled up and drags them to the edge of the green.  Prior to these attachments the entire crew would push these off by hand delaying their ability to perform other tasks (thus delaying getting the greens back playable for golf)


Spring Aerification (15)
A cutworm crawls across the green in front of the deep drill machine


Spring Aerification (11)
 Deep drill crew on #4 green


Spring Aerification (4)
After the machines leave the green the piles are scooped up by hand to be hauled away


Spring Aerification (7)
Backpack blowers used to further clean the surface and open up holes


Spring Aerification (9)
After blowing the excess sand behind the aerifier machine and the deep drill machine we have as many holes as possible open; this allows for fertilizers to fall into the holes more easily


Spring Aerification (2)

The Blog Returns for Another Season

So the blog has been in hibernation for a little bit but I plan to bring it back now that we are gearing up for another season at Vestavia Country Club.  I have loaded a few posts and will continue with regular updates as warranted.  I will send out a brief e-mail when new posts are loaded.  Also, if you know someone that would like to be on the list please send me their info and I can add them.  Or if you would like to be removed from the list let me know that as well and I will take you off.

Thanks
Owen Coulson
Golf Course Superintendent
Vestavia Country Club

Friday, April 5, 2013

Clubhouse Fowers

This year was an excellent year for all of our spring flowers around the club.  Here are few photos of everything in case you were away or just want to see them again.


Better Billy Bunker Trial Bunkers

We were able to have the Better Billy Bunker company come out and install their product on three of our bunkers.  My reasoning for doing this was to use the time between now and when a renovation is done, to see if this method of bunker lining is really is as great as everyone says it is.  We spend more time and money on our bunkers than any other part of the golf course other than the greens.  Even with all of these added resources, we still are not satisfied with their quality.
  Many courses have started implementing the Better Billy Bunker process at their courses because of the rave reviews it has received and amount of labor it cuts down on in the bunkers each day.  In a typical installation, a contractor would have to come in and remove all of the existing sand, check performance of the existing drainage lines, add a 2" layer of stone, spray the epoxy, then go through the process of adding new sand back to the bunker.  Because this is a trial we did all of this work with our own crew other than the spraying in of the epoxy liner.  Below is the process:

All the existing sand has already been removed and a blanket of gravel has been installed.  Typically a bunker does not have this stone layer.

Stone layer before epoxy liner.


Signs placed around bunkers to keep golfers from entering to retrieve golf balls.

Better Billy Bunker crew arrives and uses a meter to check moisture.  If stone is not dry they cannot apply epoxy.


Smoothing out footprints from a few that entered bunker to retrieve golf ball.

Process of applying epoxy begins.

Applying epoxy liner to stone


Epoxy application complete.

Circled bunker and placed several signs around outside to keep golfers from walking on new liner.

Caution tape and signs to keep golfers out while material dries.

Better Billy Bunker crew returns following day to perform quality control.

Some one didn't see the caution tape and signs.  The circles are footprints and places that had to be redone.

Applying epoxy by hand to the damaged areas.

Measuring square footage

We soaked this area for several minutes to see if it would puddle.  Everything drained away immediately.


We begin to add new sand.

New sand added.


Spreading sand by hand.


We remove all the attachments from the bunker rake to pack everything in with the tires.

We also use hose to wet the sand while we are compacting it.
We will come back and add more sand and continue to pack these bunkers over the next few days.